Diving into my build pile - Building the Great Goblin
I decided to take a break from 3D printing everything (however, see note below) and try building a Pro Series II kit sold by Estes last year, the Great Goblin. I comes with balsa fins in two parts that need to be glued together before using. I've read numerous reports about these cracking on landing, etc., so decided this would be a good opportunity to learn how to coat fins with paper to make them less fragile. Apogee Components has a great video about how to use normal printing paper and super glue to add a skin to strengthen the balsa fins.
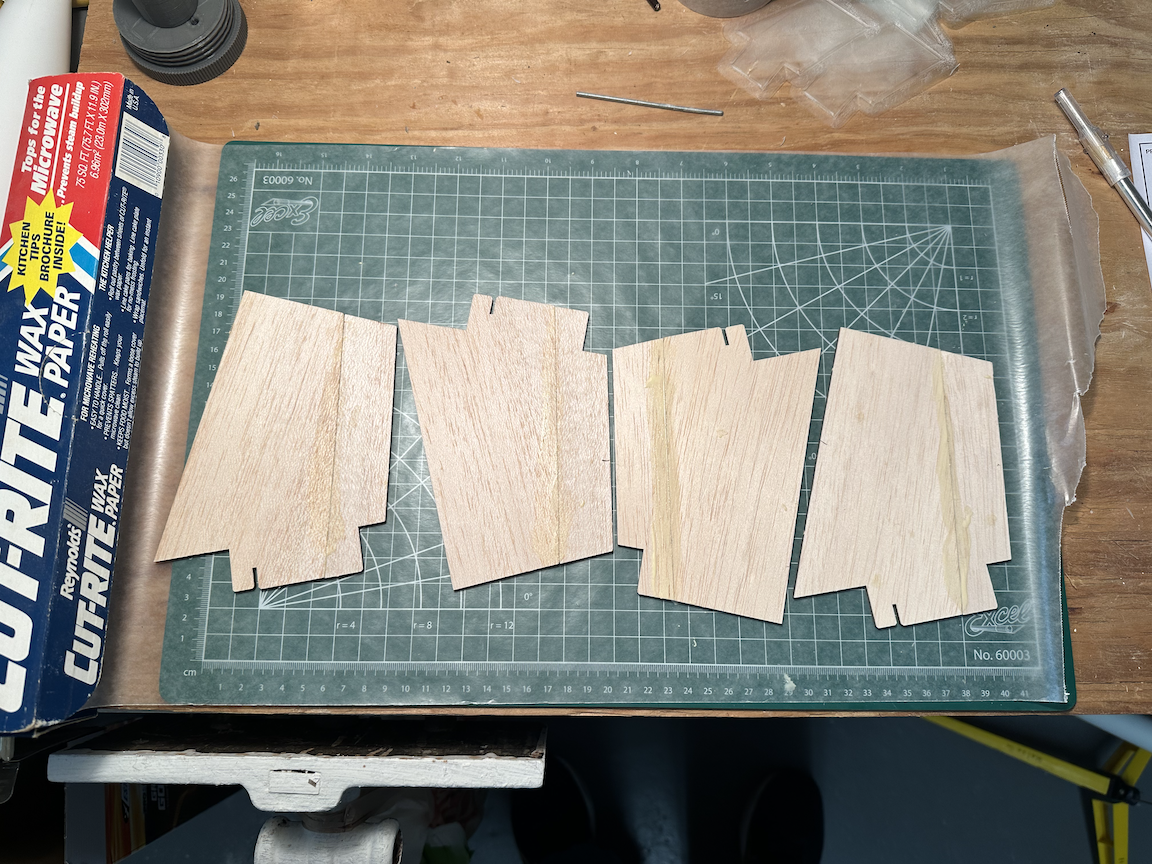
I cut out the fins and glued the two parts together for each fin, laying them on wax paper
I covered the fins with a second layer of wax paper, then placed some objects on top to make sure they dried flat.
The next day I photocopied two fins then cut out the paper fins and attached them to the balsa using Fast Grab Tacky Spray. After positioning the paper over each fin, I brushed on Super Glue, wiping off the excess every couple of minutes with a paper towel. This gave fins which appeared much stronger than the original balsa wood parts.
I trimmed any overlap and sanded to round the corners. After assembling then engine mount,
I test fit the fins inside the body tube and quickly realized I shouldn't have papered the fin tabs! They were too thick to fit through the precut fin slots in the body tube. I spent a lot of time sanding and eventually trimming off the paper glued to the fin tabs using a scalpel blade to get back to bare balsa wood showing in the tabs.
After finishing the last fin, they easily fit into the existing fin slots. I carefully glued the engine mount, aligning the slits in the second engine centering ring with the slots in the body tube. After this dried, I glued the fins in place using my fin alignment guide.
I'd planned to make this a completely "stock" (i.e., out of the box) build but realized there was a 3D printed nose cone available from David Frey with a threaded base for adding my GPS tracking holder. I printed the nose cone using black filament so I won't have to paint the alternate nose cone. Here it is laying next to the "stock" Estes nose cone.
I'll glue the above threaded collar into the the base of the nose cone, then can substitute the original nose cone (to be painted black) with the GPS nose cone for launch.


Comments
Post a Comment